How to photograph your design piece to actually sell it on Whoppah
Well-photographed listings sell up to 60% faster than rough ones. Here's exactly how our curation team photographs items: the light, the background, the six shots every listing needs, and how to do it all in 15 minutes with a phone.

We've seen the same listing photographed two different ways and sell for a 40 percent price difference, in the same week, by the same seller, with no other variable changed. Photography matters more than sellers realise.
Why this matters, and why I want to help
Whoppah's curation team rejects more listings for photo quality than for any other reason. It isn't because we're picky. It's because buyers make their decisions from photos and won't bid on a piece they can't see clearly. A well-photographed Wegner sideboard sells in 7 to 14 days on average. A poorly photographed one of the same model can sit for three months.
The good news is you don't need professional equipment. A modern smartphone is fine. You do need to set up light, background and shot composition deliberately, and that takes about 15 minutes.
I want this to feel achievable rather than intimidating, so let me walk you through exactly what we do internally.
What you need
- Daylight from a window. No direct sun on the piece itself.
- A plain wall as background (white, beige, light grey)
- A microfibre cloth and a soft brush to clean the piece
- About 15 minutes per item
- Optional but helpful: a second person to hold a reflector, which can be a sheet of white A2 paper
Avoid: built-in camera flash, overhead room lighting, busy backgrounds, and anything that screams "phone snapshot in my living room".
The six shots every listing needs
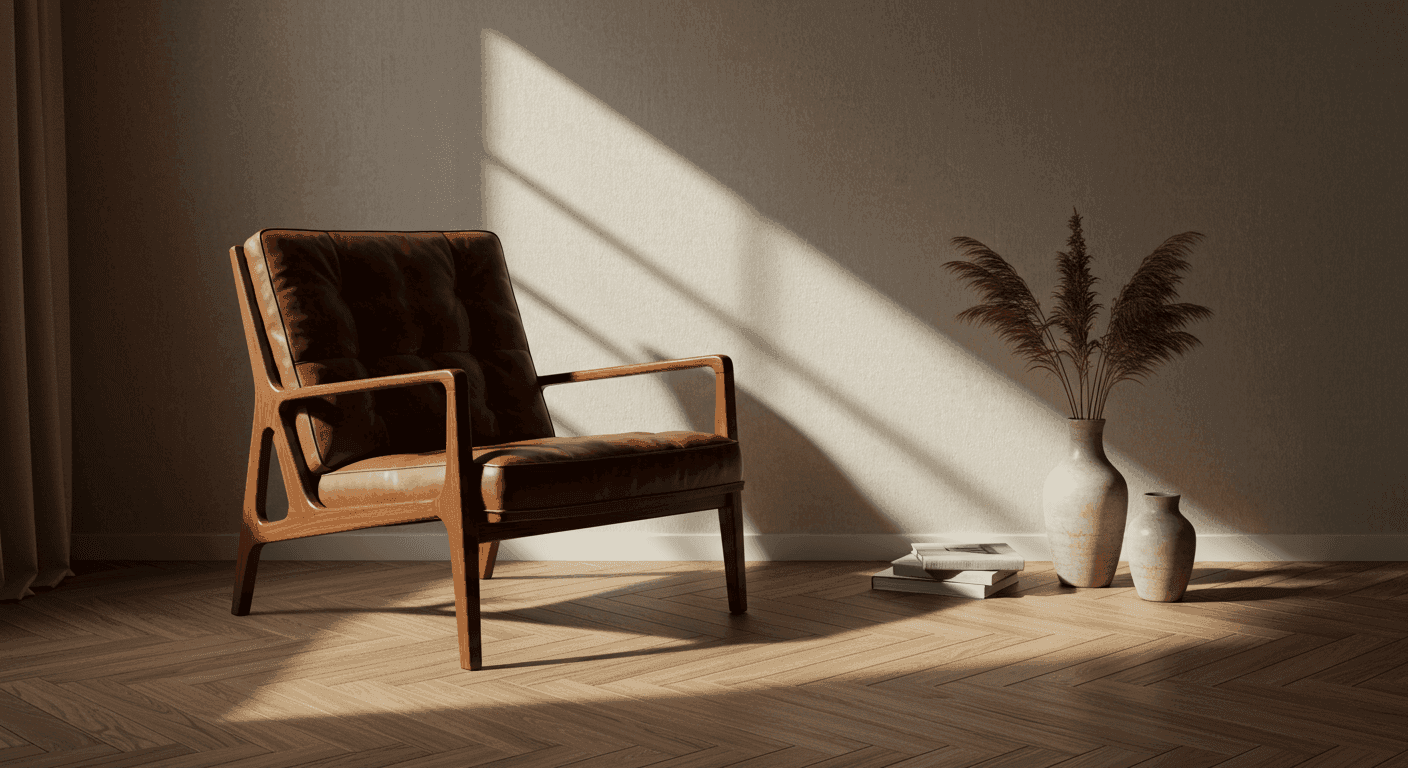
1. Hero shot, three-quarter angle
Place the piece against your plain wall. Stand 2 to 3 metres back. Crouch so the camera is roughly at the centre of the piece, not above it (which makes everything look smaller). Shoot at a three-quarter angle, not straight-on, not pure side, so the buyer sees depth.
This is the photo that will appear as the listing thumbnail. It's worth taking five versions and picking the best.
2. Front-on
A second shot, straight from the front, square to the piece. Same wall, same distance. This lets the buyer judge proportions accurately, which they really do want to do.
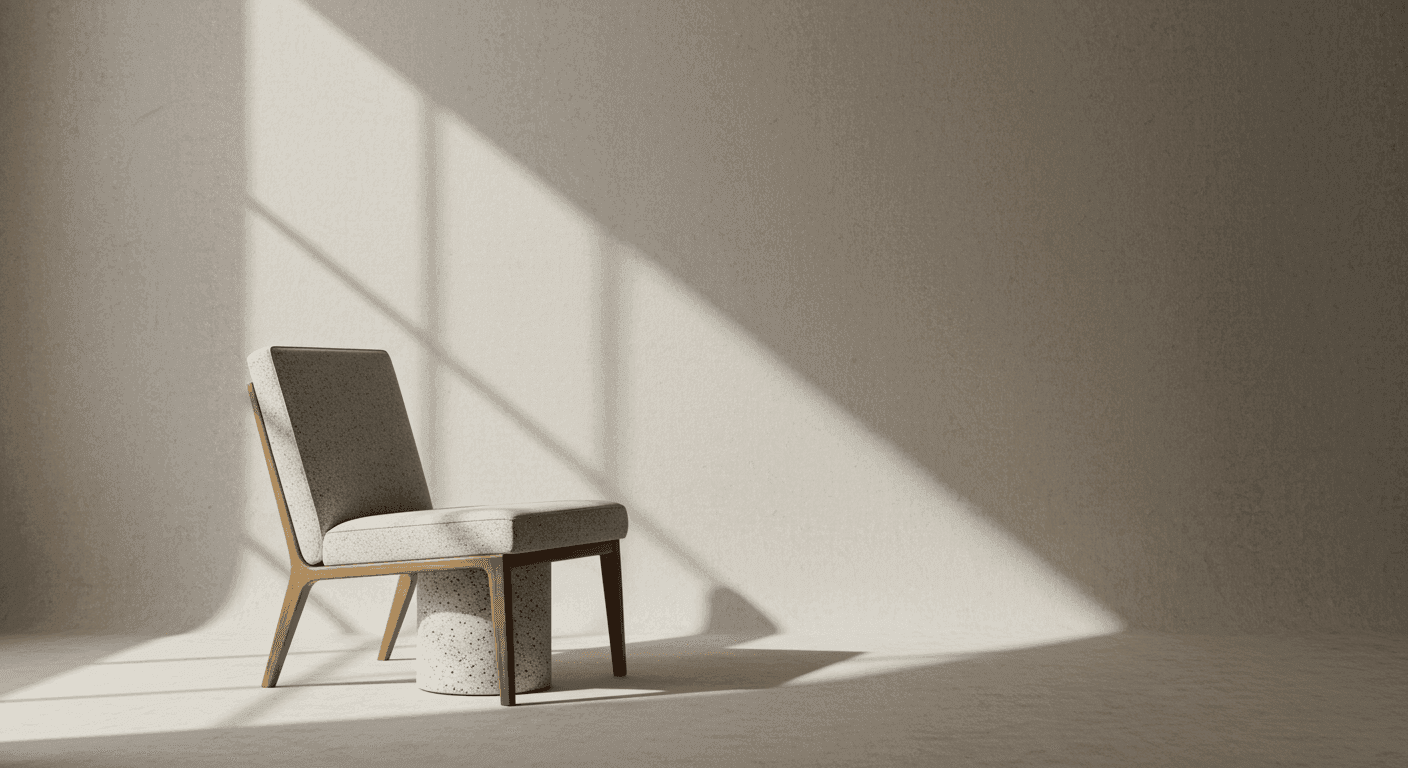
3. Side profile
The piece from one side, showing depth and silhouette. For chairs, this is often the shot that reveals which model it actually is. The back curve is the giveaway on most mid-century designs.
4. Detail of the maker's mark or label
Close-up of any maker's stamp, plate, label or signature. If you can't find one, photograph the part of the piece where you'd expect to find one (underside of seat, back of cabinet, base of lamp). Buyers and our curation team both need this shot.
5. Honest condition shots
Every visible flaw deserves a photo. A scratch on the top of a sideboard. A small chip on a veneer edge. A faded patch on the upholstery. A loose fitting.
I know this sounds counter-intuitive. Surely you don't want to advertise damage. In practice, transparent condition shots dramatically increase buyer trust and reduce post-delivery disputes. Buyers don't expect a 60 year old piece to be perfect. They expect honesty. You'll sell faster, not slower.
6. Detail of construction
One close-up showing the quality of the build. For a chair, the joinery where the leg meets the seat. For a sideboard, a drawer pulled out showing the dovetails. For a lamp, the base material and switch.
This shot is what differentiates "a sideboard" from "a 1968 Børge Mogensen sideboard with hand-cut dovetails". The same object reads as worth €400 or €1,400 depending on what construction details the buyer can see.
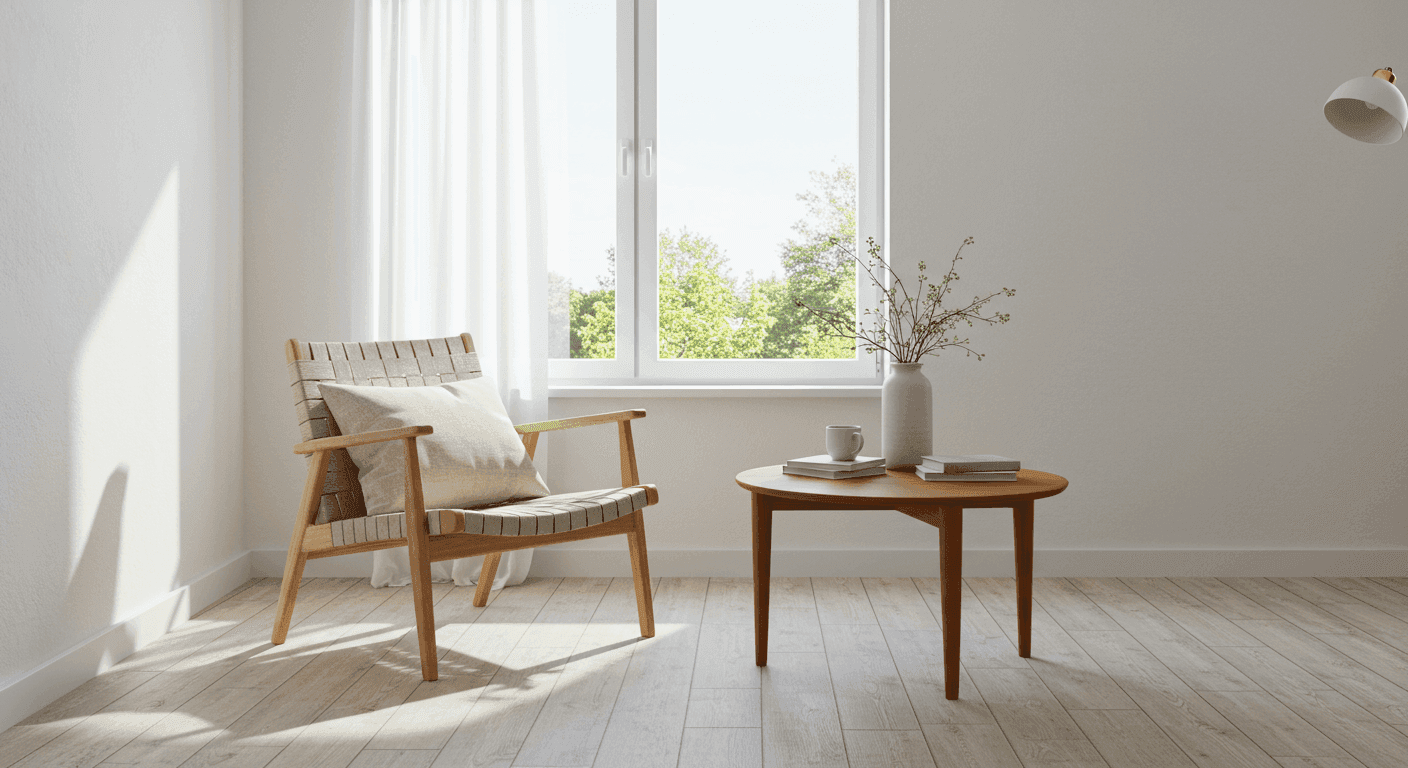
How to light it
Daylight from a window. Position the piece so the light falls on it from a 45-degree angle. Direct front-on light flattens the form. Direct side light creates harsh shadows. 45 degrees is the sweet spot.
If you only have one bright window, position the piece so the light hits the photographed face but doesn't shine into your camera. If the room is dim, a single inexpensive softbox or a clamp-on photography light (€30 to €80) makes a real difference. Worth the investment if you sell more than one or two pieces a year.
Avoid: yellow tungsten light, fluorescent overhead lights, mixed light sources that create colour casts. If your room has all of those at once, turn them off and rely on the window.
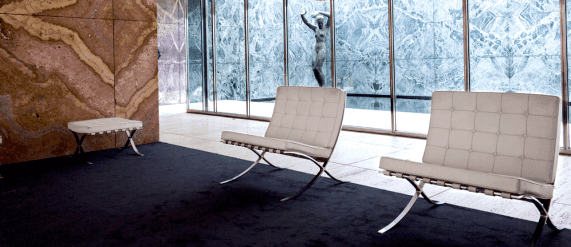
Background discipline
The cheapest mistake I see. Photographing a designer chair in front of your full living room. Cluttered backgrounds compete for attention and make the piece read as cheap. Either:
- Push the piece against a plain wall, or
- Move the piece into the centre of an empty room, or
- Drape a clean white sheet behind it as an improvised background
Avoid: doorways, radiators, plants, other furniture, family pets, your own reflection in mirrors or glass. (Yes, even your reflection in the glass-fronted vitrine. I've seen it.)
Editing, kept minimal
Light editing is fine and expected. Crop for composition. Straighten if the photo is tilted. Brighten slightly if the exposure is off.
Heavy editing is a different story. Colour-shifting the leather to look richer than it is, smoothing out scratches, removing scuff marks. That's a curation rejection on our side, and a buyer-protection liability on yours. If you wouldn't want to receive a piece that looked like the listing, don't edit the listing to look that way.
Time investment
A complete six-shot set takes about 15 minutes once you've set up your space. The first item you photograph might take 30. By the third, you'll be at 10. That's a meaningful return on investment when good photos cut your time-to-sell by half.
When in doubt, send them to us
If you're not sure your photos are good enough, send them to our curation team via the listing flow. We'll tell you which shots to retake before we approve the listing, which saves you a round trip. We'd rather invest five minutes giving feedback than have a listing sit unsold for two months. That's part of what we're for.